Monday, May 12, 2014

Bonnets for Baby

I am still on my sewing for baby kick. I am loving sewing coordinating outfits for her while I daydream about how cute she will look in all that I am creating. So this past week I decided to work on hats and bonnets to match her little dresses that I made. 

I found and fell in love with the Cottage Mama's blog (thecottagemama.com). She has the cutest patterns for little girls and I decided to give her Ruffle Bonnet Tutorial a try. I did size down to about 85% to try and make it fit a newborn . . . only time will tell if these bonnets will work but I am really hoping they will. 

My first bonnet was made using all white eyelet fabric and a white cotton fabric for the lining. 


I loved the way it turned out. Which meant I just couldn't stop with one. Remember the watermelon dress I had been working on (using the Little Geranium Dress Pattern from Made by Rae)?


I couldn't help but throw together a cute little ruffled diaper cover to go underneath. 


And of course, she would have to have a matching bonnet since this pattern had gone together so smoothly and so quickly. 


I just can't wait to dress her in this outfit for summer barbeques. Finally, I decided to make one very special dress and bonnet using the scraps from my mom's Mother's Day quilt. 


Luckily I had a lot of leftovers from the border of the quilt. 


I added orange to the dress instead of pink or red just to give her a pop of a more summery color. 


I really did love making these bonnets and they are a great way to use up some of the larger quilt scraps. The tutorial was extremely well written, easy to follow and created such a beautifully finished bonnet. I enjoyed it so much that I ordered myself a mother's day gift, the Cottage Mama's (Lindsay Wilkes) book, "Sew Classic Clothes for Girls". I am just dying for it to get here. I also found a few more patterns on her site that she offered for free that I cannot wait to try out. 

I have a feeling that I am far from done with my sewing for this little one! :)

Until next time . . . happy quilting/sewing!

Sunday, May 11, 2014

A Garden That Never Wilts: My Quilt for Mom

So I must admit, I have been keeping a secret for months and it has been killing me! But I finally get to share my secret . . . a secret quilt that I was working on in between all of the other projects I have been sharing. A quilt that I was working on for my incredible mother who has been taking such incredible care of me through out this pregnancy. It took me a full month to finally find a fabric that I thought was suitable enough for such a special quilt but once I found it I was in love with it's scrumptious goodness!


My mother has the most beautiful garden . . . one I wish I could have. And she spent her Mother's Day in my garden cleaning it up and prepping it for planting. So the floral prints of Bonnie and Camille's Scrumptious line for Moda seemed so fitting for my mother. Now she could keep some beautiful flowers on display in her house all the time. Then I had to pick a pattern. I normally would design my own but I had recently seen a tutorial posted by the Missouri Star Quilt Company for a zipper quilt design that I just loved so I decided to give it a shot. 

I must say, it is hard to cut such pretty fabric but once I got it cut and started piecing I was on a roll and loving how it was turning out. 


I absolutely loved the way it was looking as the rows started to come together!


Before I knew it I had a beautiful quilt top!


And then came the basting, which I must say was not very fun when you are very pregnant! Hahaha. It was quite possibly the most uncomfortable position to be in but it got done and that is all that matters!


Then came the quilting. I decided to do the meandering free motion quilting again. Ever since practicing using it on the baby's Elephant Quilt I have been in love with it. I try to turn my mind off as I do it and just get lost in the rocking motions as I go!


I straight line quilted in the white skinny border and then decided to do some more meandering in the outer border. 


I then cut scallop edges into the border and binded the quilt with a peachy orange binding. Then every night before I fell asleep I worked on hand embroidering a special quilt label.


Of course, the label also had 2 beautiful floral bouquets. I am getting a bit better at my hand embroidery and have really enjoyed embroidering before bed each night. It really helps me to unwind at the end of the day. I attached the label and my quilt was ready for gifting. 


I didn't forget to add a little bit of scrumptious goodness to the back of the quilt as well. 


Not going to lie, I almost didn't want to give this quilt away once I finished. I was in love with the colors and the beautiful prints. Guess it is a good thing that I stashed 2 more charm packs of the fabric for myself for later! :)


I am pretty sure that my mom loved the quilt when I gave it to her today. I hope it will be a forever reminder of the Mother's Day that we spent in the garden together. Hope all of the mothers and grandmothers had a beautiful day doing something they love with someone they love! Until next time . . . happy quilting!

Monday, May 5, 2014

Baby Dresses: Easier Than They Look

Oooh . . . 2 posts in one day! That is when you know you have been a bit more productive. As shown in my previous post, I got over my fear of garment construction with a simple pinafore pattern. Well, I thought I had. But then I looked at a pattern I had found online and thought, there's no way I can make that. But being as determined as I am, I just had to try. So I grabbed some adorable fabric that I had found at a thrift store in Wisconsin last year, cut out the pattern (found at made-by-rae.com) and pieces and got to work. 


Isn't that fabric too precious for a little girl?! Okay, not going to lie to you. I was excited, nervous, overwhelmed and completely unsure of myself. So much so that I forgot to take pictures of my progress. But I promise, the directions that go along with the pattern were very easy for a beginner to follow and it came together very quickly. 


I followed the pattern exactly, except for the bottom of the dress. I did 2 layers for the bottom since the fabric was a bit thin. I left the pink layer 1 inch longer than the white for a playful peek at the lining. I also omitted the pockets because I did not want them to take away from the simpleness of the fabric. 


I also only added 1 button, instead of 3, on the back. Let's be honest, no one wants to fumble with buttons when dressing a newborn. 


And of course, a diaper cover to tie it all together! I couldn't believe I made a dress! And one that looked just like the ones at the department stores. I was on a high and quickly got to work cutting out pieces for more. I also cut out pieces from the extra fabric in this dress to attempt a sunhat but I haven't gotten to it yet. For my next dress, I decided to play with the pattern a bit.


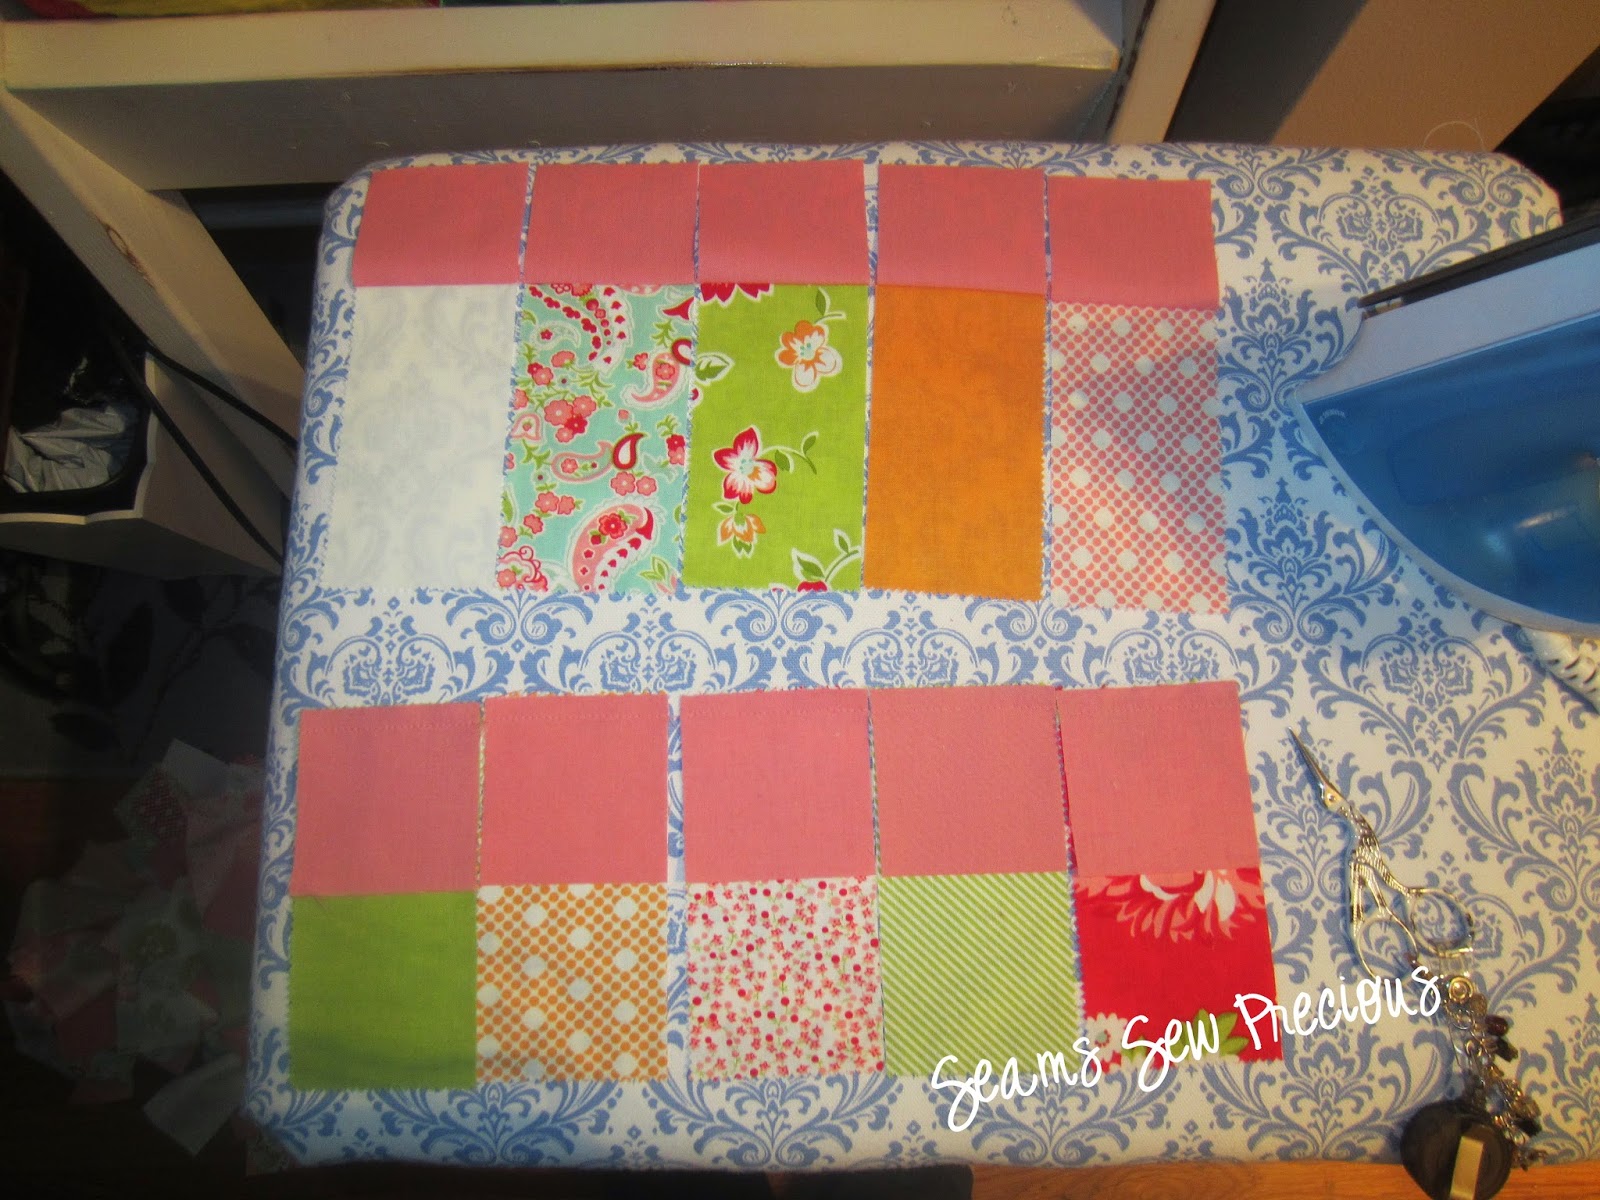
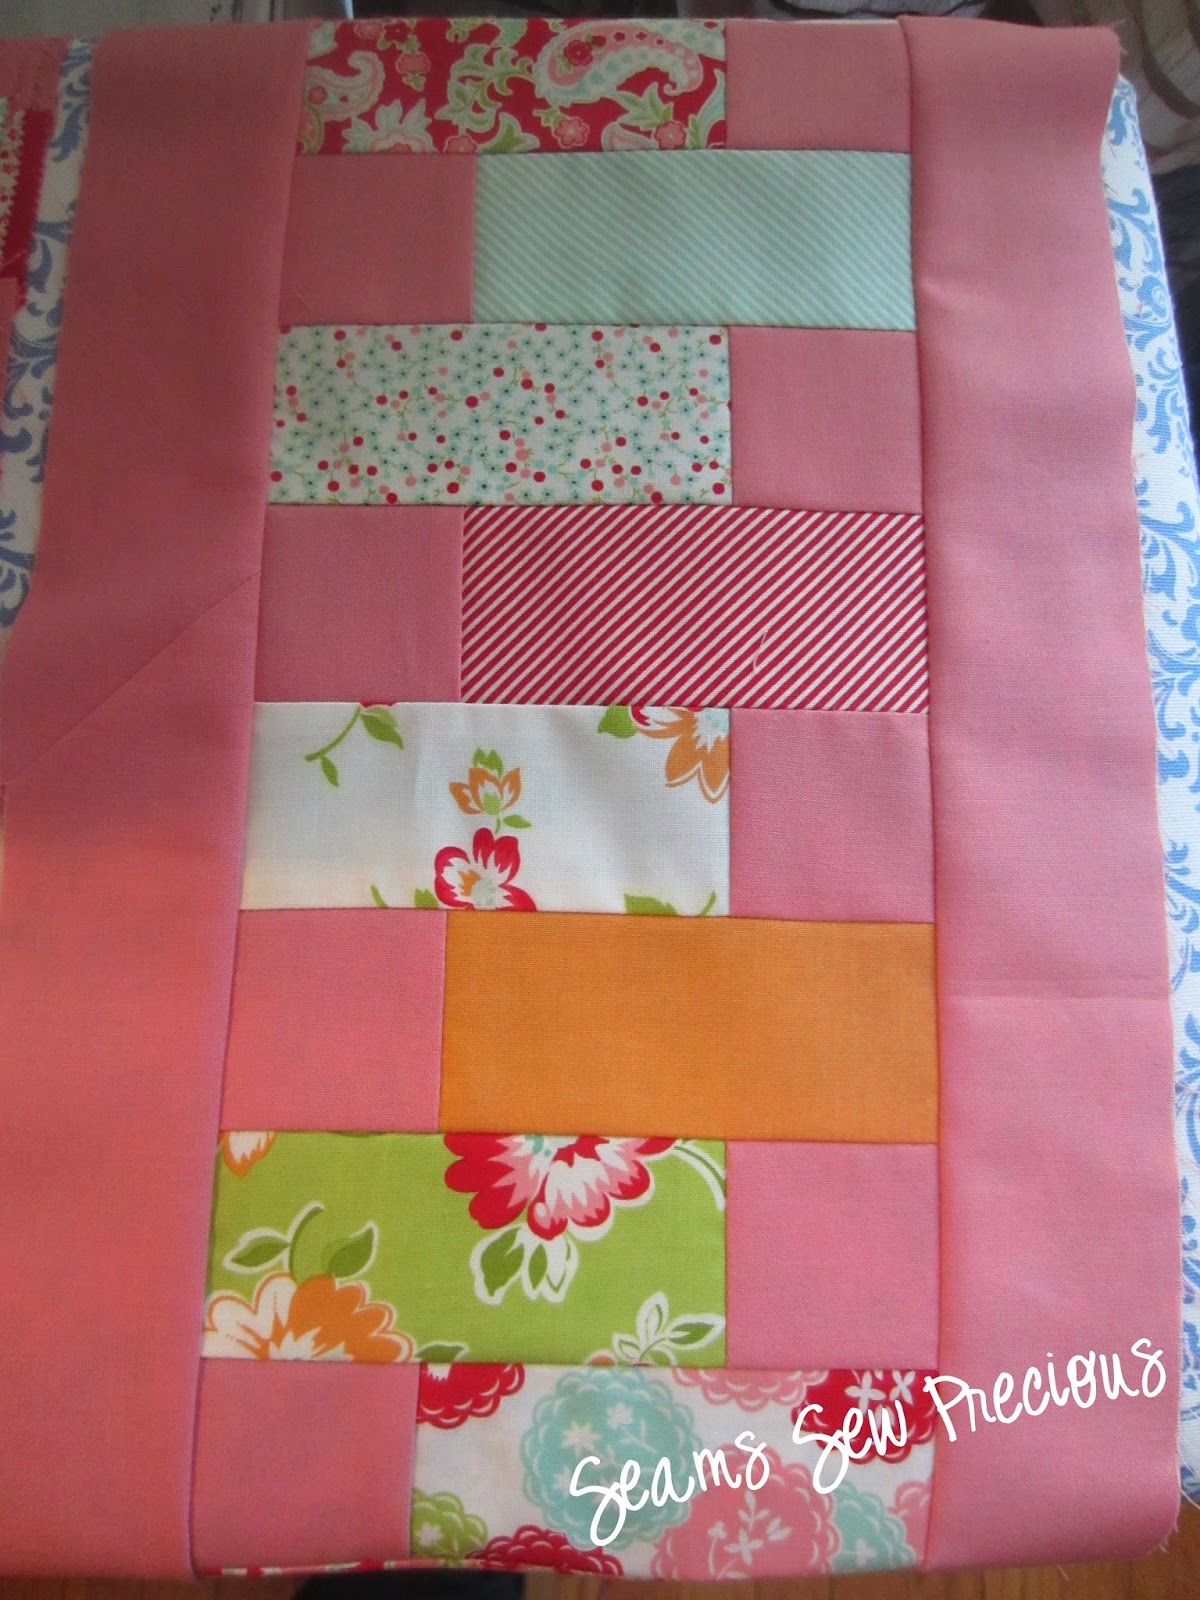
I decided to add ruffles, ribbon, and tiny buttons to the center of the bodice and I decided to piece the skirt so that I could play with all the fabrics from the line. I had been stashing the fabrics for a quilt but I think I like them better as a dress for summer barbeques!


I just love how playful this turned out so I had to add one more picture of the front! 


I still have to add the button to the back but I just couldn't wait to share how it had turned out. I also have to create a matching diaper cover for this as well (and maybe a hat too if I am able to pull them off). See . . . accomplishing this dress has me on a crafting high! 

The only thing I am still debating is if I should add some trim to the bottom of the dress. I can't decide if it takes away or adds to it. 


Thoughts?! I hope my dress experience will inspire others to make friends with garments! Until next time Happy Quilting/Sewing! 

A Hockey Pinafore: My First Garment Attempt

I have been playing with sewing baby clothes ever since a serger magically appeared at my house last week. Diaper covers were the first things I had tried making (see the last post) and they had went pretty well, so I decided that perhaps I would try to sew some clothes for the little one. Of course, I browsed through my favorite site, Pinterest, and found a very easy pinafore pattern to use as my first attempt from Smashed Peas and Carrots.


The quilter in me could not resist doing a little bit of simple piecing to create the look of a hockey jersey. I am sure by now it is pretty obvious that we are huge Chicago Blackhawks fans. She has a bunch of cute hockey onesies to wear but I wanted her to have something extra cute for next season! 


And so I began cutting. I definitely appreciated the simplicity of this pattern!


Then it was time to sew together the front . . . 


and the lining!


Did I mention that I absolutely love the serger?! I have heard so many times that people are intimidated by them but I am just loving the professional finish it gives. I think I love it more and more every time I play with it. I cannot wait to learn more techniques on it. 


Then I just had to sew the lining and the front together (right sides together) leaving a 4 inch opening for turning. 


A little top stitching and the pinafore was nearly done. I am not thrilled with how my straps turned out but they aren't too horrible for a first try! 


Two buttons, two buttonholes and a logo from her uncle's old hockey jersey completed the pinafore!


Not too shabby for my first attempt at garment making. She will be cheering on the team in style next year (and probably the year after too . . . this pinafore transitions to a toddler tunic)!


Oh . . . and I didn't forget the diaper cover so that we get a cute little peek at ruffles when she is crawling around! I have some more dresses to share in another post. In the meantime . . . Happy Quilting/Sewing!