Sunday, December 15, 2013

A Few Christmas Gifts

The countdown to Christmas is growing smaller and I am relieved to say that I have finished every handmade item that I wanted to make as gifts. This is a complete difference from last year when I was sewing the night before Christmas Eve!

One of the items I quilted as a gift this year was a table runner for a very dear friend of mine that lives across the country from us. Since she has already received her gift I figured I could now share it here. I used one of my favorite tutorials to create it, The Half-Hex Christmas Tree Runner by Missouri Star Quilt Company.

My focal fabric was a Michael Miller print that I had in my stash that was just screaming to be used in this project.


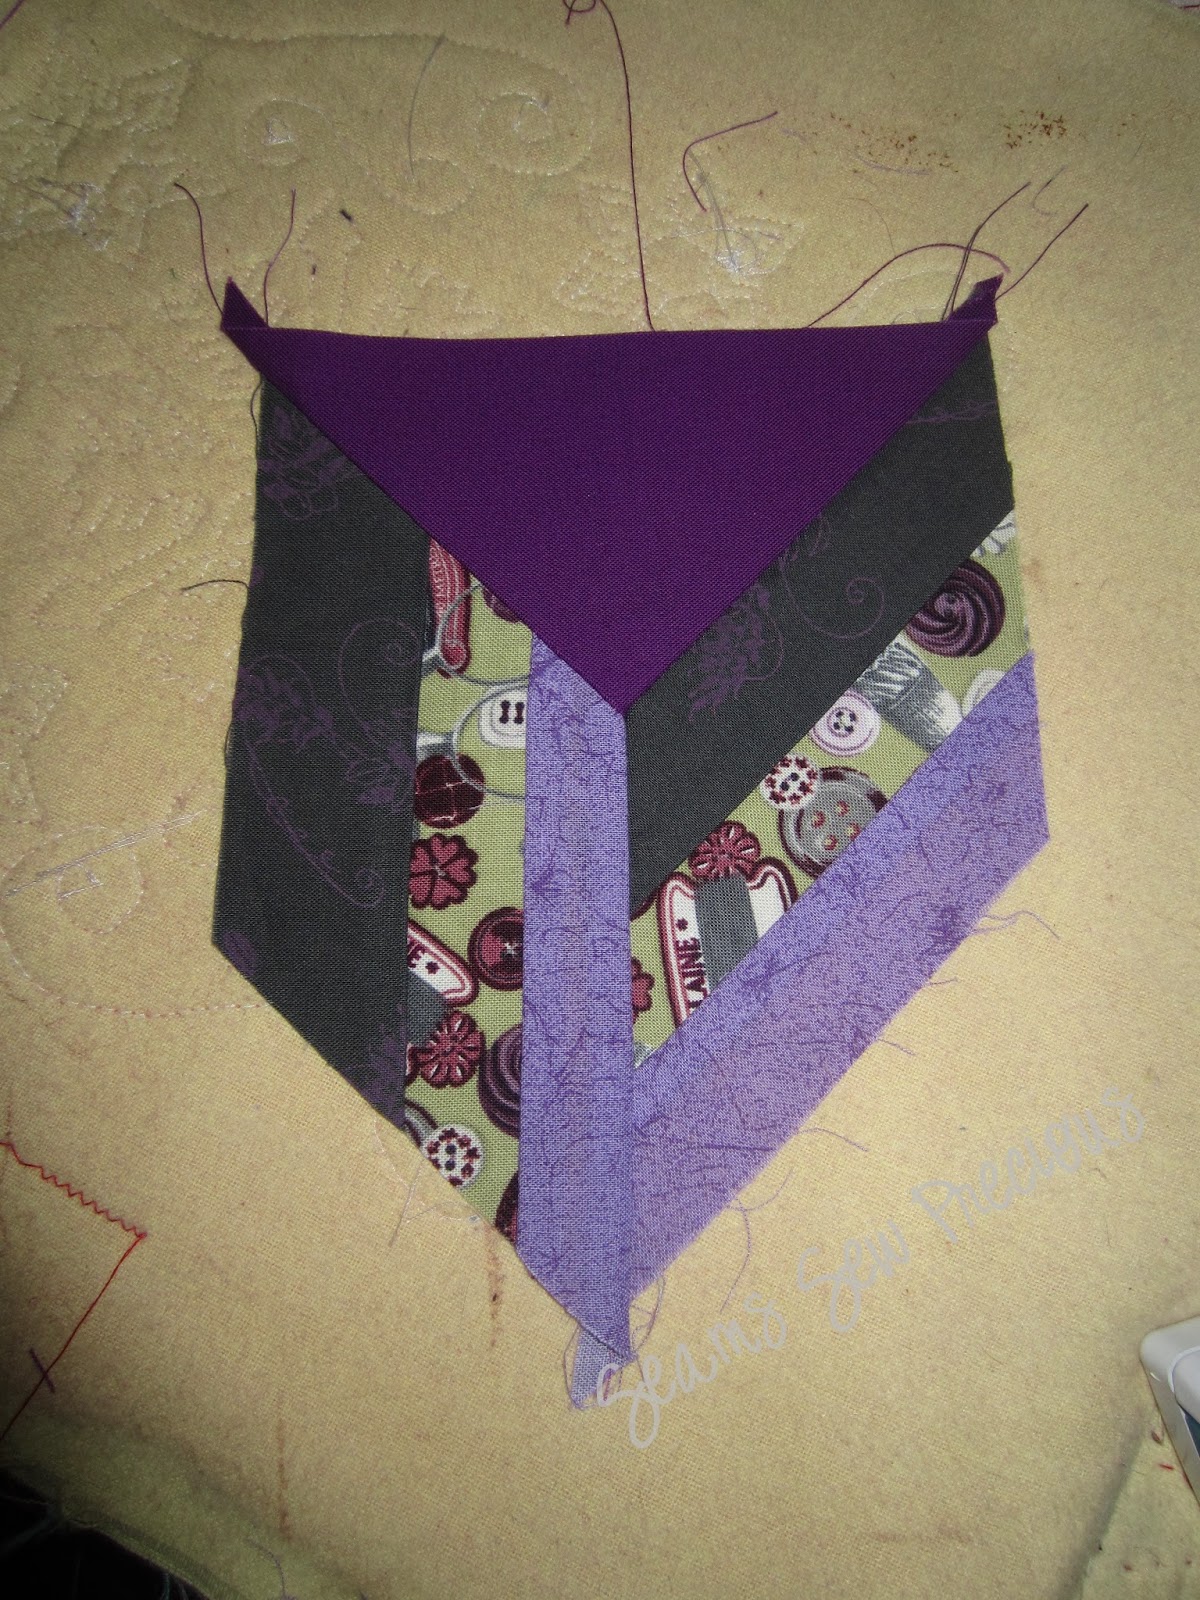
I chose some complimenting fabrics and got started with the piecing on the treadle machine. I love sewing gifts on the treadle . . . it makes everything feel even more handmade since the machine is powered completely by my own movements. 


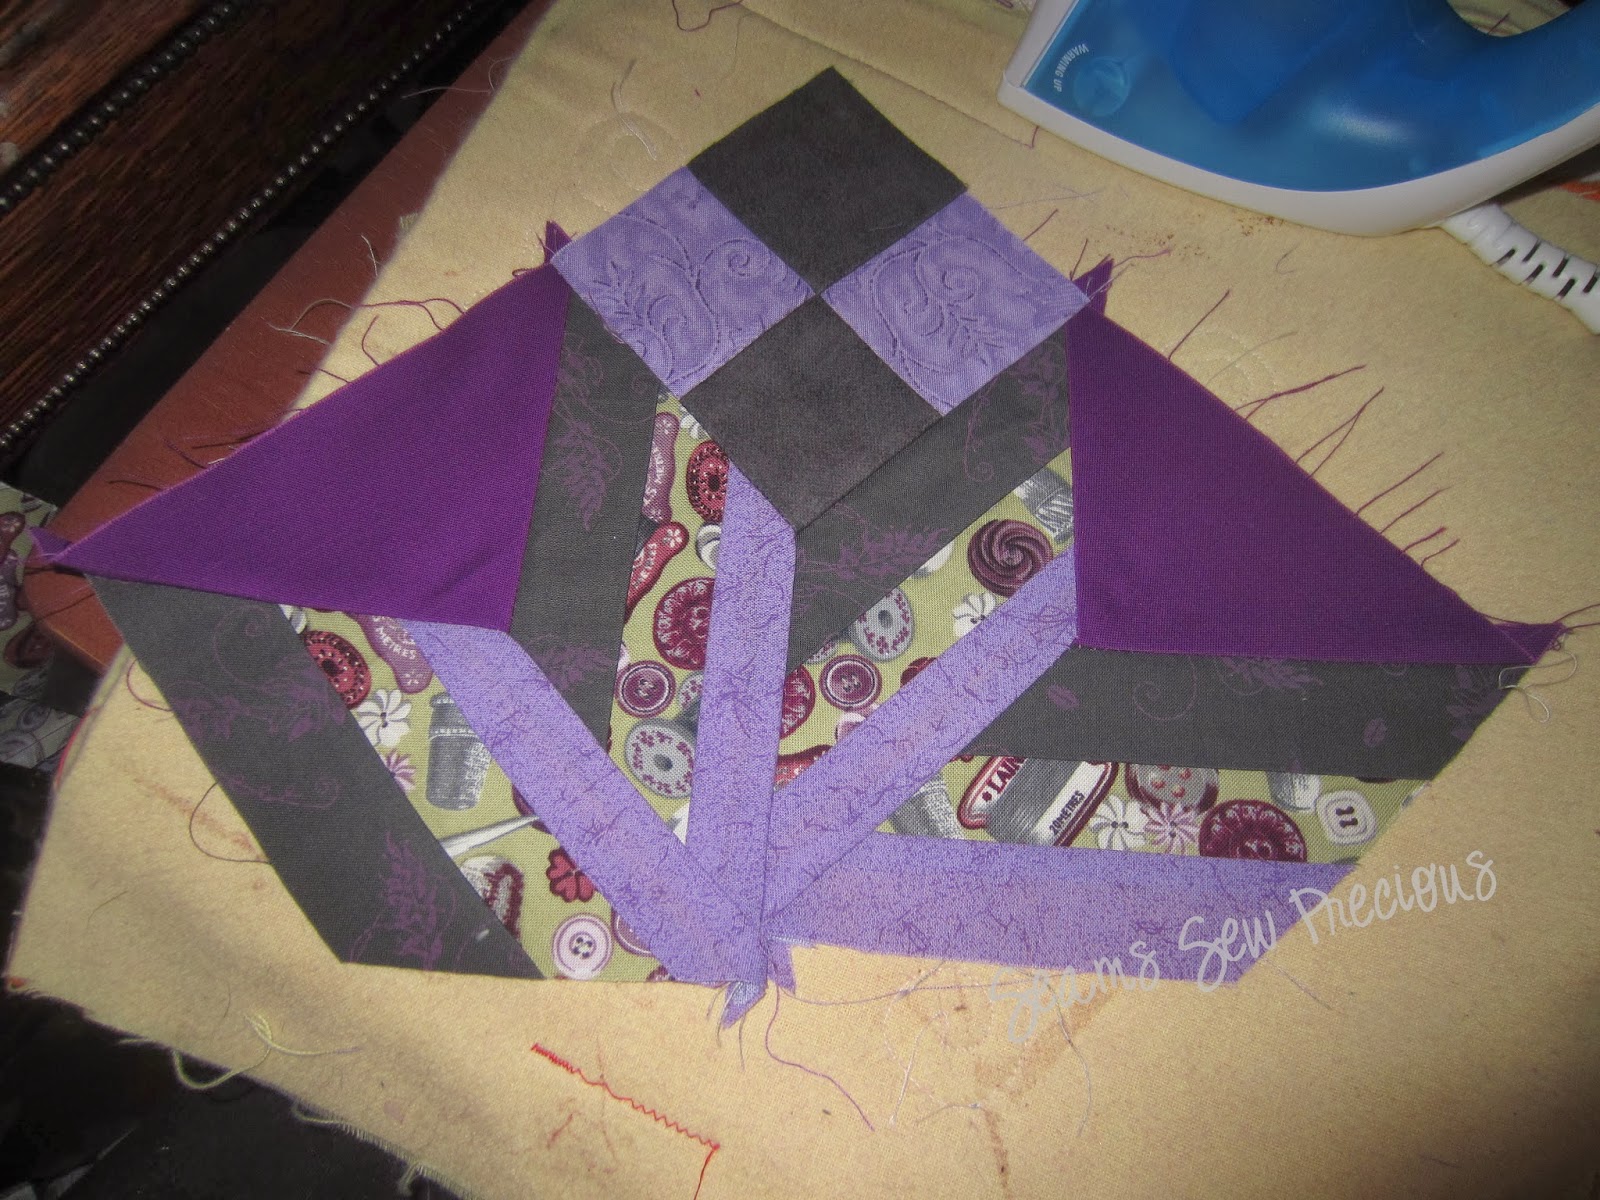
I think my favorite thing about quilting is watching all the little pieces come together to form a beautiful big picture so I always love sharing some of the progress pictures so you can watch it forming as well!


I added a pop of red in the border and the star and quilted it all up adding a hint of metallic thread for some shimmer! It turned out even better than I had hoped it would!


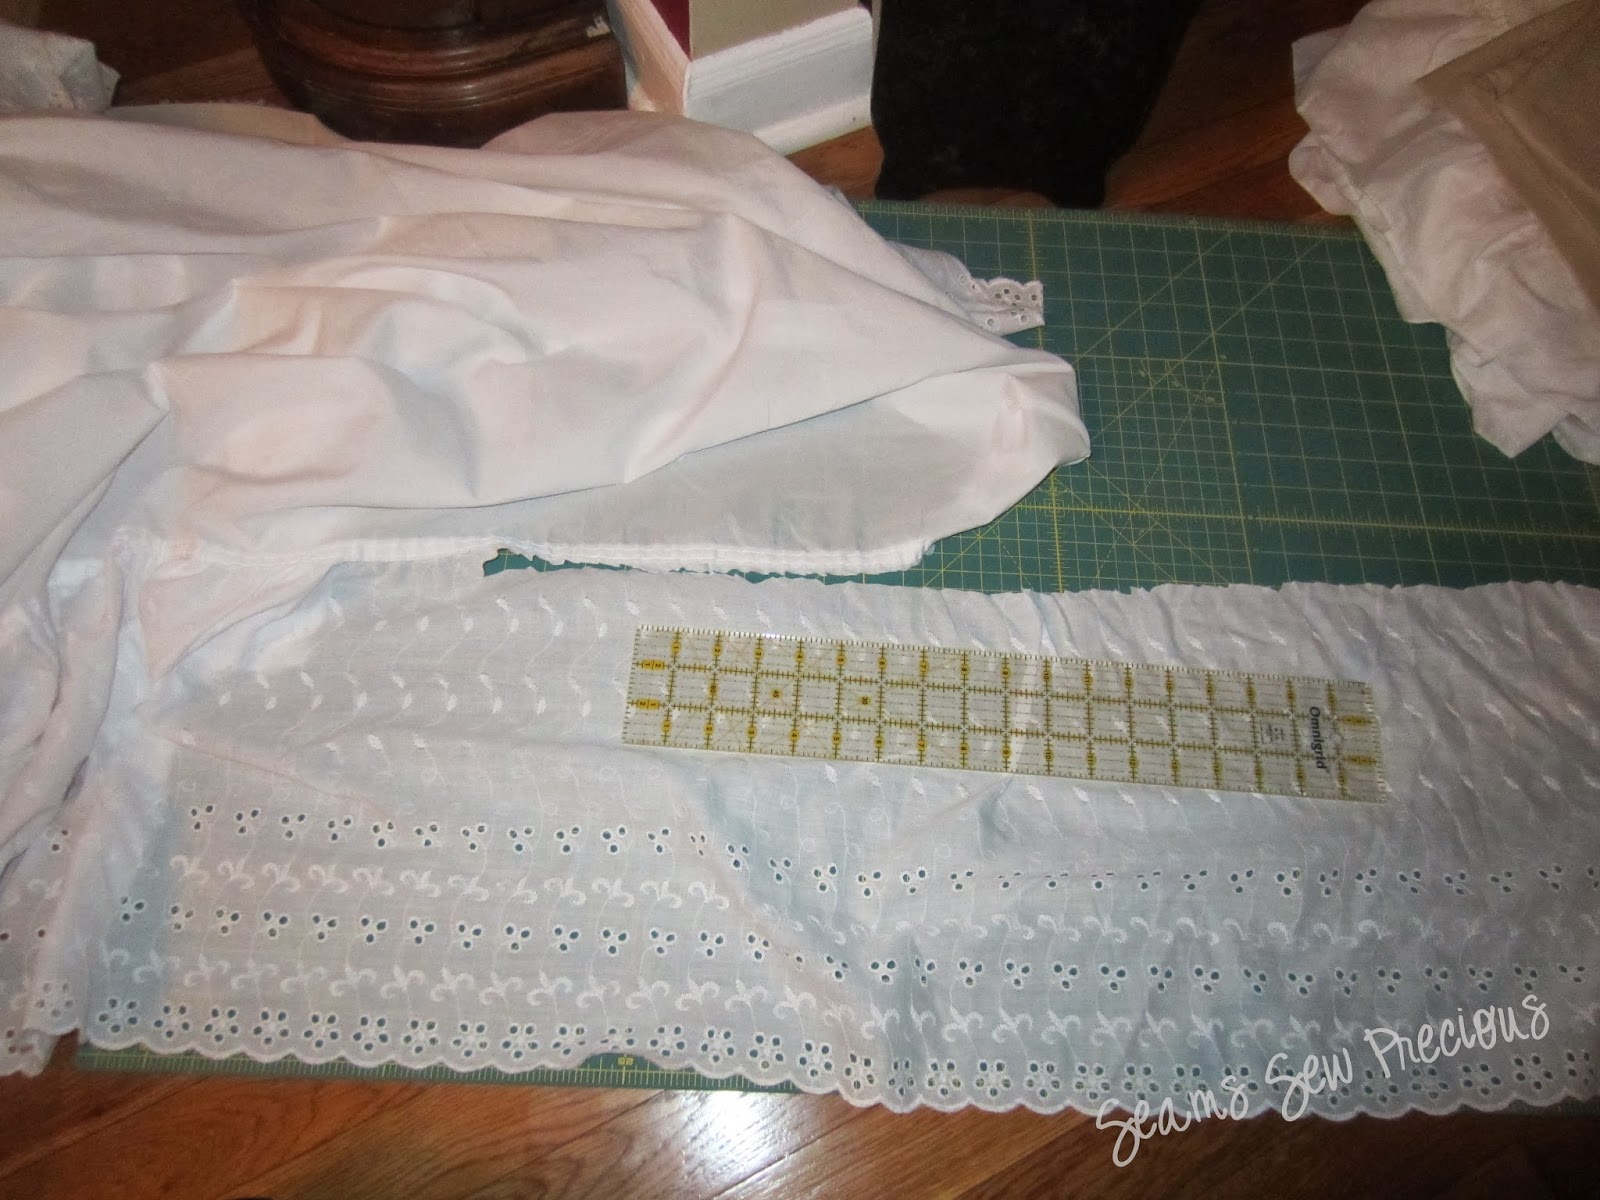
I must admit, I like this pattern so much that I also created one for myself. I switched the fabrics up to match some of the decor that would be on it. This time I used some of my M'Liss fabric in "My Pets Christmas" and complimented it with some shimmering metallic fabrics. 


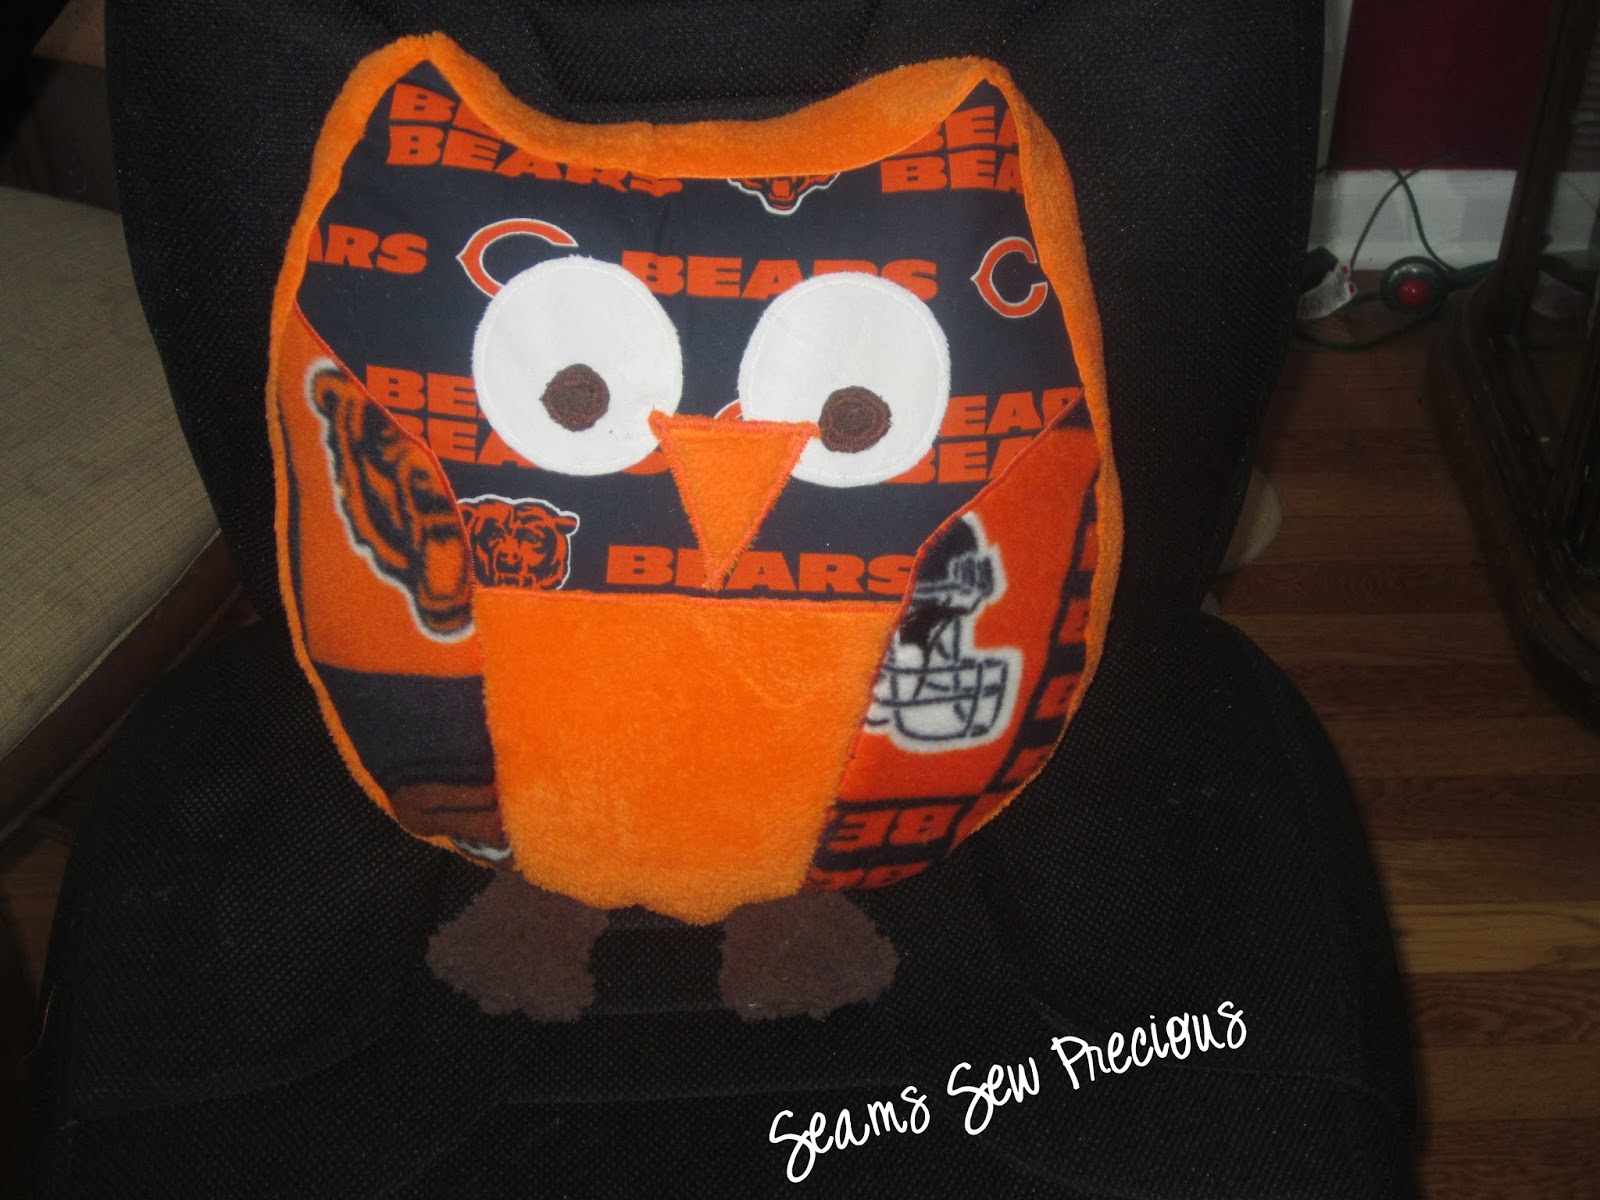
I also finished and sent a special homemade gift for my friend's daughter. This one was not quilting related but turned out just so cute. I found a pattern over at We All Sew for an adorable owl pillow. I knew that this would make the perfect gift. I followed the instructions and was able to make it in a day. I chose some complimenting fabric leftovers from baby blankets that I had made. 


I cut out all of the shapes. 


And then assembled and stuffed. 


This turned out so cute that I just knew I had to make more. So I did. Last week I whipped up another for my cousin's adorable little boy! 


He turned out so cute that I again whipped up one more in the same prints for my own son that will be sitting under the tree on Christmas morning. I will share more of my projects as gifts get opened! 

Happy holidays and merry quilting!! 

Monday, December 9, 2013

Our Shabby Chic Tree Skirt

I cannot believe that we are only a few weeks away from Christmas now! I apologize for the delay in posting again . . . I have been busy quilting Christmas gifts like crazy! I cannot share pictures of those projects yet but I do want to share a special project that I made for our house for the Christmas holiday. I saw a pin on Pinterest of a beautiful lace and burlap tree skirt and I knew I just had to make one!

Directions for the original project can be found here:  http://www.u-createcrafts.com/2011/10/creative-guest-burlap-lace-tree-skirt.html.

I spent a few weeks collecting some supplies from the thrift stores, which meant this project only cost me $12 in supplies. 


My next step was to cut everything into the right size strips. 


This eyelet lace was my favorite! It is actually a thrifted bed skirt that I got for $2.99. I ended up using every inch of the bed skirt between this project and a few others!


I veered from the original instructions only when it came to edges and ruffling. I knew with kids in my household that I will inevitably have to wash this tree skirt, so I decided I wanted no raw edges. So I pulled out some of my vintage accessories and began playing with the hemming foot!


Why did I not try this foot sooner? I was in heaven!!!


Next was the ruffler foot . . . again, why did I not do this sooner?!


It took me no time at all to have a pile of fabric ready to use to build my tree skirt.


Next I took the thrifted table cloth and drew my line and circle to cut out.


I also cut down the size since my tree goes in a very tight corner. 


I also hemmed the edges on the table cloth. Once you start with that foot you just can't stop. 


I then began sewing on layer upon layer of ruffled fabrics, alternating between them all.


Once all of the layers were attached I trimmed the edges to be perfectly straight. 


I then took some of the remaining pieces of the bed skirt fabric and created binding out of it. I attached this all around the raw straight edges and the inner circle. I also used it to create ties.


And the tree skirt is perfect! It looks gorgeous under the tree!


Hope everyone is enjoying a wonderful holiday season! Until next time . . . happy quilting!

Sunday, November 3, 2013

October was a Hoot!

Oh my! An entire month has gone by. Where has it gone? I know it was packed full of sewing, quilting, and being busy in general. But lots of sewing and quilting means that I have some projects to share with you! I really did try to finish a quilt for my birthday but it just didn't happen. I did finish piecing the top but did not even start to work on backing. But it is looking good!

Remember that Addicted to Vintage quilt I was working on for myself? Here is how it was going before:


Well I just love watching things come together, and that it did over the first 2 weeks of October!


But my biggest project in October was a very special baby quilt that I created for one of my husband's co-workers. I knew all along I would be creating a quilt as soon as I found out the baby's gender but when the baby ended up in the NICU for 2 weeks, I knew this was going to end up being something more than just a pieced top. I decided to design an applique for the little girl to represent her and her family. I started by creating a border of patchwork squares around a large square of white polka dot cotton fabric! 


A closer look at one of the patchwork squares will introduce you to the inspiration for my applique. 


I did all of my applique free hand. To do this I used a white chalk pencil to sketch my designs before cutting them out.


I then attached all the applique with a cute blanket stitch.


And I kept adding and adding layer by layer until it felt complete.


I then attached the patchwork border, embroidered some personalization, and began quilting the top. I usually quilt on my vintage machines but this time I decided to try something new. I played with some pre-set stitches and decided to try quilting using a wavy stitch.


It actually turned out beautifully!


Some straight line quilting around the border and some binding and the blanket was complete!


Hopefully the quilt will keep that beautiful little girl warm this winter. And now as we are heading quickly towards winter I am getting a jump start on creating some special Christmas gifts. But along the way I will be working on and sharing some holiday projects for our own house as well! 

Happy Quilting!

Wednesday, September 25, 2013

Addicted to Vintage Sewing Machines

In case you haven't noticed in my past posts, I do most of my sewing on 2 vintage sewing machines; a treadle sewing machine and a hand crank sewing machine! I love these machines so much. They are not only work horses that can sew through anything but they are absolutely beautiful to look at as I sit and sew seam after seam.


I like to sit and wonder about all the items that they may have sewn in their previous lives. I also love that they use my own movement to sew . . . makes my finished items feel even more handmade. The greatest bonus is that you can buy these machines for a fraction of the cost of a new machine and it will last far beyond your living years! Needless to say, I am addicted to my vintage machines.


So my project from last week should come as no surprise. I found a vanity stool at the Goodwill months ago for $3.99 that looked like it would be the perfect height for at my treadle machine. Sure enough, I was right and I have sat comfortably in it, month after month, for 3-4 months now. I finally took a long enough break from sewing to refinish the stool to fit in better with my decor. 


First things first, I removed the seat and dragged the stool outside for some primer and black matte spray paint so that the legs of the stool would match the legs of the treadle table.


Then I removed the faux leather fabric from the seat and re-upholstered it using one of my favorite cotton prints from Robert Kaufman's Vintage Couturier line. To protect it I added a top upholstery layer of some lightweight vinyl (I have a toddler in my house and I refuse to be devastated by chocolate stains)!


And I was left with the perfect sewing seat!


I also began a project for myself this week. I read somewhere that a quilter would create a quilt for herself every year for her birthday and I thought to myself, what a great idea! I spend nearly 365 days a year crafting and quilting for others, it is time to create for myself. My birthday is just around the corner so I decided that I would give myself the gift of a warm quilt for this winter. I began by picking the fabric combination this past weekend. 


I also cut all my pieces over the weekend. I had just enough fabric, except for the solid purple (I am anxiously waiting for more to arrive). I am using a free pattern I found from Timeless Treasures called Eden.


Over the last 3 days I was able to start piecing, I got through 6 of the large squares and some strip piecing to create 3 inch diamonds. 


Last night I finished cutting out the last of 120 diamonds from my strip pieces. 


I cannot wait to see how this quilt turns out! I am thinking I may have to name this quilt, "Vintage Addiction"! 

It is about time to begin Halloween costumes too, so this next week will be a little more work on the quilt and a lot more work on costumes! 

Happy Quilting!