Saturday, January 11, 2014

2014: Picking up the Pieces and Getting Things Made

We are finally thawing out from our big freeze and the huge mounds of snow are finally shrinking. But being snowed in last week had a lot of positives as well. For one, I was able to take some time to really set some goals/resolutions for 2014. If I were to make a list of everything I wanted to do this year it would need to be written out on a scroll! And I also know I would find myself either stressed or extremely disappointed as the year comes to an end. So instead, I opted for choosing some words to motivate me for the year!

ORGANIZATION: Plain and simple. I think this is just about everyone's goal, every year! Somehow life gets crazy every year and things just kind of end up all over the place. I think I will always be striving to find a proper place for everything and to keep my work areas (and the whole house) as organized as one possibly can. 

PROGRESS: I want to finally catch up on all those half finished projects that have been laying around. Especially my Addicted to Vintage quilt that I started for my birthday and never got around to finishing. 


LEARNING: I hope to continue learning new techniques and skills with sewing and quilting. This year I would really love to learn how to free motion quilt and paper piece. 

FAMILY: I also want to be sure that I am super involved as a mom and wife. My goal is to spend less time online and more time being in tune to my family's needs. I also want to take more time to create for them this year!

So during my week inside I began to tackle some of these goals. I pulled out projects that were in pieces and worked on a few new ones that would help organize some things as well. One of these was a quilted sewing machine cover that I had started back when I got my treadle sewing machine. Somehow it got pushed aside and forgotten about. 


I had sketched my own pattern based on the shape of the machine and it turned out pretty well! It fits the machine like a glove. 


You might notice in the picture, I also quilted a giant pin cushion with pockets for organizing. Instructions for creating this "Mega Pinnie" had been shared on Facebook and it was so much fun to make and is now so helpful to carry from work-station to work-station.


I used all scrap pieces from my Addicted to Vintage quilt and got to try out some free-motion quilting on my treadle machine! I was scared to try meandering but it wasn't as scary as I thought it would be. Once I finally relaxed and just went for it, I found it was actually rather enjoyable. My curves aren't perfect but I am sure with practice they will get better.


And the best part is that it has pockets for all the tools that I use most often!


I did adjust the pattern a bit for the pockets though. I did all square patchwork instead of alternating between the square patchwork and rectangle patchwork pockets (so I cut 24 2.5 inch squares instead of 12 2.5 inch squares and 12 rectangles). 

I also decided to finally organize the mess of plastic bags that we keep on hand in our house. 


Yuck! It looked so trashy hanging on our wall. I found a great tutorial online to create a bag dispenser out of some of my wonderful scraps (yes, I save every extra inch of fabric from my projects . . . and it pays off in the long run). 

So I selected and cut my fabric and laid it out to be sure I liked the order of the pieces. 


And I began piecing all the strips together. Which meant I got to play with a new tool that I had read about online too!


When I work with my little one close by, or even right on my lap (as I was in this instance), I don't like to keep the iron on as it just begs for bad accidents with a toddler that loves to touch! But then I read about using a wooden seam roller when working on small piecing or curved piecing. I didn't really think it would work but I found one for wall papering on Amazon for 6 bucks and figured it couldn't hurt to try. 


My toddler loved it because even he could help use it! That's his pudgy little hand blurred in the corner as he rolled it back and forth. 


And I loved it because it actually worked!


It takes some elbow grease but if you started with crisp fabric it works like a charm. It is a great alternative if you cannot keep your iron out all the time. The rest of the project finished up quickly (less than an hour and that is with a toddler on my lap the whole time "helping" mommy). 


So much better than looking at a bag full of bags! Now let's just hope I can keep making progress on all of my 2014 goals. Happy Quilting!

Thursday, January 2, 2014

Happy New Year

I hope everyone is starting their new year off on the right foot! We are starting ours off while buried in snow . . . we are still waiting for our alley to be plowed so that we can get our cars out of the garage. However, I thought this was the best way we could have started our 2014 off! It was rather refreshing to be forced to stay at home and take things easy for once. We had a nice brunch yesterday while we watched the snow falling out in our backyard and spent the afternoon playing outside as a family.

Speaking of family, if you are a regular follower of the blog you may have noticed I have been really slacking in my posts over the last few months. Our family will be expanding this Spring and morning sickness and a pure lack of energy have caused me to fall a bit behind not only in my sewing but also in my blogging.

But before I dive into 2014 and begin planning my quilting and sewing aspirations, I figured I should probably finish sharing the last of my projects from 2013! All of the Christmas gifts have been received so I am finally safe to show off what was made.

As mentioned in my previous post, I really love sewing the Half-Hex Christmas Tree Runner that Missouri Star Quilt Company showed in their YouTube tutorial. That being said, I had a blast making these for some of the women in our lives!


Using an easier pattern allowed me to branch out in other ways, like experimenting with metallic threads! I must say, I love the way they look on festive runners!


I also broke out of my mold for a runner that I created for my mom. I decided to give quilt-as-you-go a try, and I really liked it! I may even be making a quilt for my son using this method in 2014!


Honestly, the hardest part of this project was just letting go and having fun without having a pattern. I am so used to everything needing to be pieced a certain way that it took me a little while to get into the groove of just crazy cutting and piecing. But once I did I had a blast with it!


I also branched off from quilting for quite a few projects. For some men, I made custom bath towels using my embroidery machine. 


And for my final items, wristlets for some very special young women in our family! I used a free tutorial for a Bow Clutch.


That wraps up all the gifts I made. For the end of 2013 and the beginning of 2014 I am experimenting with Glad Press n' Seal for free motion quilting. I am new to free motion but have been dying to learn so I am using my Addicted to Vintage quilt as an opportunity to try something new. Still not sure how I am feeling after only one try with the Press n' Seal but hoping to have a better analysis of it soon!


Wishing you all a new year full of quilting and sewing fun!

Sunday, December 15, 2013

A Few Christmas Gifts

The countdown to Christmas is growing smaller and I am relieved to say that I have finished every handmade item that I wanted to make as gifts. This is a complete difference from last year when I was sewing the night before Christmas Eve!

One of the items I quilted as a gift this year was a table runner for a very dear friend of mine that lives across the country from us. Since she has already received her gift I figured I could now share it here. I used one of my favorite tutorials to create it, The Half-Hex Christmas Tree Runner by Missouri Star Quilt Company.

My focal fabric was a Michael Miller print that I had in my stash that was just screaming to be used in this project.


I chose some complimenting fabrics and got started with the piecing on the treadle machine. I love sewing gifts on the treadle . . . it makes everything feel even more handmade since the machine is powered completely by my own movements. 


I think my favorite thing about quilting is watching all the little pieces come together to form a beautiful big picture so I always love sharing some of the progress pictures so you can watch it forming as well!


I added a pop of red in the border and the star and quilted it all up adding a hint of metallic thread for some shimmer! It turned out even better than I had hoped it would!


I must admit, I like this pattern so much that I also created one for myself. I switched the fabrics up to match some of the decor that would be on it. This time I used some of my M'Liss fabric in "My Pets Christmas" and complimented it with some shimmering metallic fabrics. 


I also finished and sent a special homemade gift for my friend's daughter. This one was not quilting related but turned out just so cute. I found a pattern over at We All Sew for an adorable owl pillow. I knew that this would make the perfect gift. I followed the instructions and was able to make it in a day. I chose some complimenting fabric leftovers from baby blankets that I had made. 


I cut out all of the shapes. 


And then assembled and stuffed. 


This turned out so cute that I just knew I had to make more. So I did. Last week I whipped up another for my cousin's adorable little boy! 


He turned out so cute that I again whipped up one more in the same prints for my own son that will be sitting under the tree on Christmas morning. I will share more of my projects as gifts get opened! 

Happy holidays and merry quilting!! 

Monday, December 9, 2013

Our Shabby Chic Tree Skirt

I cannot believe that we are only a few weeks away from Christmas now! I apologize for the delay in posting again . . . I have been busy quilting Christmas gifts like crazy! I cannot share pictures of those projects yet but I do want to share a special project that I made for our house for the Christmas holiday. I saw a pin on Pinterest of a beautiful lace and burlap tree skirt and I knew I just had to make one!

Directions for the original project can be found here:  http://www.u-createcrafts.com/2011/10/creative-guest-burlap-lace-tree-skirt.html.

I spent a few weeks collecting some supplies from the thrift stores, which meant this project only cost me $12 in supplies. 


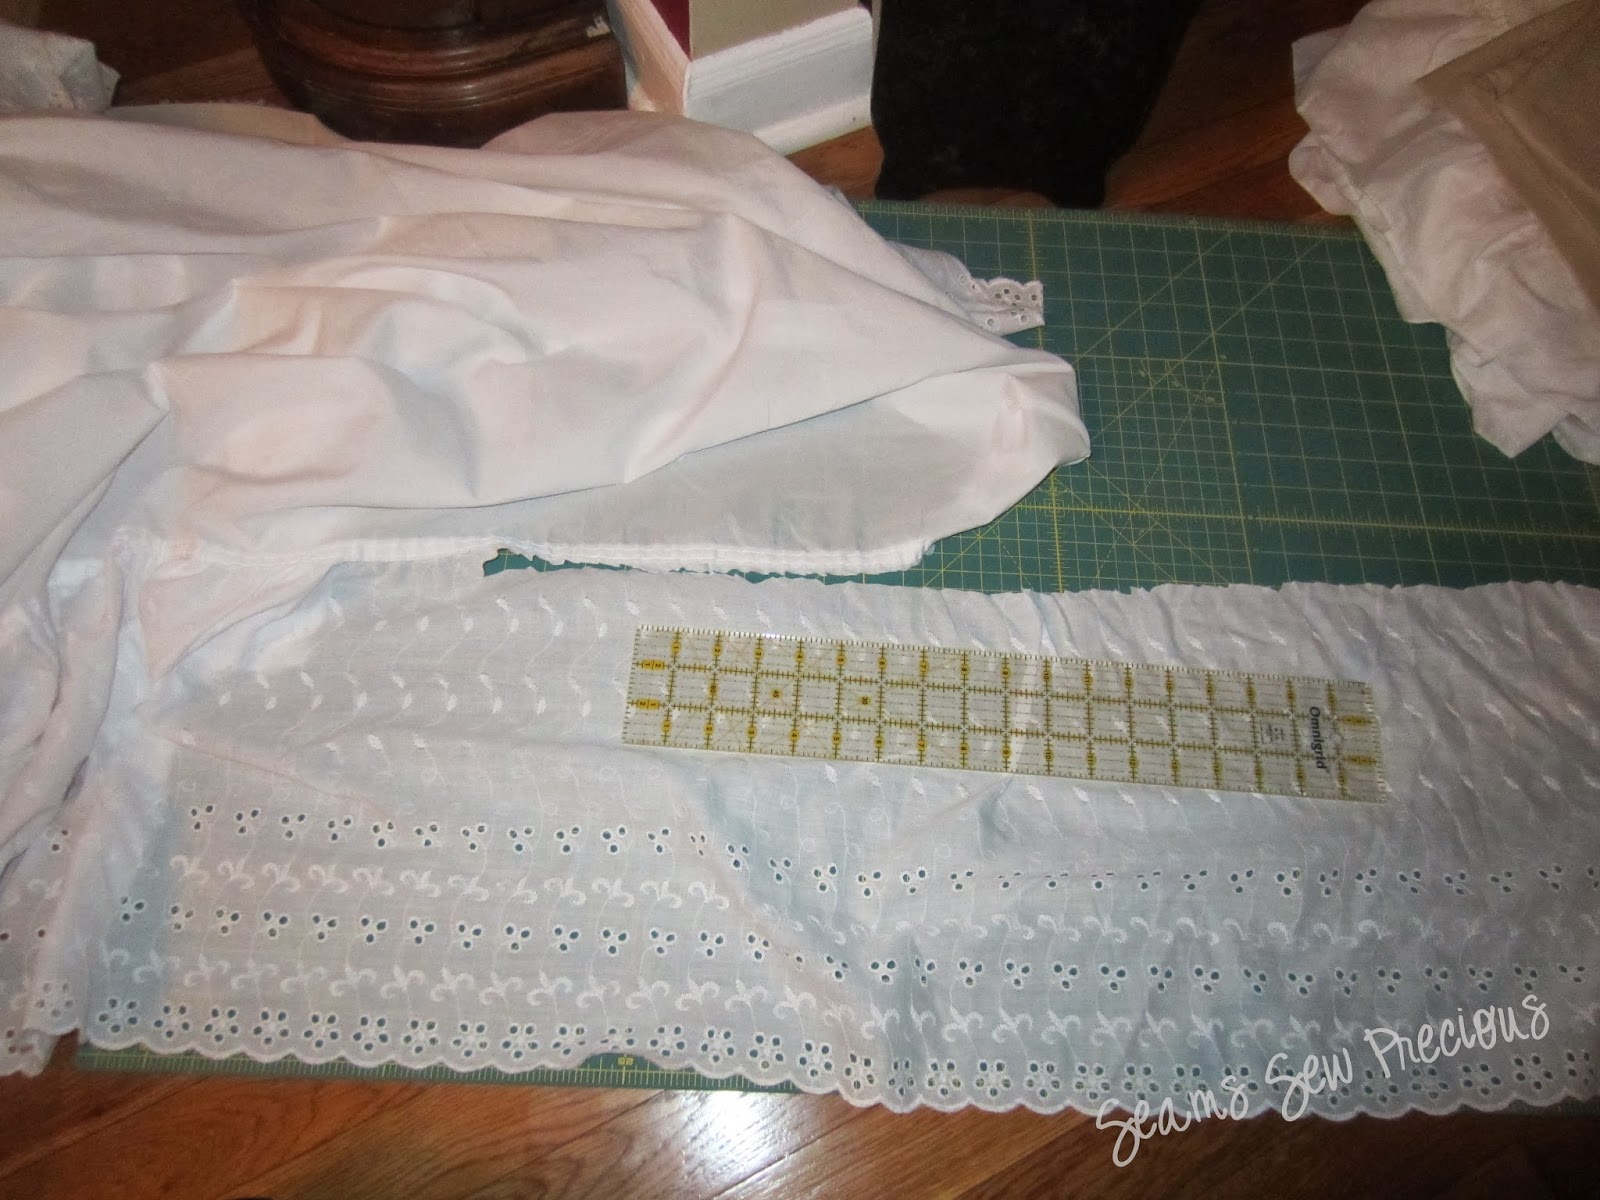
My next step was to cut everything into the right size strips. 


This eyelet lace was my favorite! It is actually a thrifted bed skirt that I got for $2.99. I ended up using every inch of the bed skirt between this project and a few others!


I veered from the original instructions only when it came to edges and ruffling. I knew with kids in my household that I will inevitably have to wash this tree skirt, so I decided I wanted no raw edges. So I pulled out some of my vintage accessories and began playing with the hemming foot!


Why did I not try this foot sooner? I was in heaven!!!


Next was the ruffler foot . . . again, why did I not do this sooner?!


It took me no time at all to have a pile of fabric ready to use to build my tree skirt.


Next I took the thrifted table cloth and drew my line and circle to cut out.


I also cut down the size since my tree goes in a very tight corner. 


I also hemmed the edges on the table cloth. Once you start with that foot you just can't stop. 


I then began sewing on layer upon layer of ruffled fabrics, alternating between them all.


Once all of the layers were attached I trimmed the edges to be perfectly straight. 


I then took some of the remaining pieces of the bed skirt fabric and created binding out of it. I attached this all around the raw straight edges and the inner circle. I also used it to create ties.


And the tree skirt is perfect! It looks gorgeous under the tree!


Hope everyone is enjoying a wonderful holiday season! Until next time . . . happy quilting!